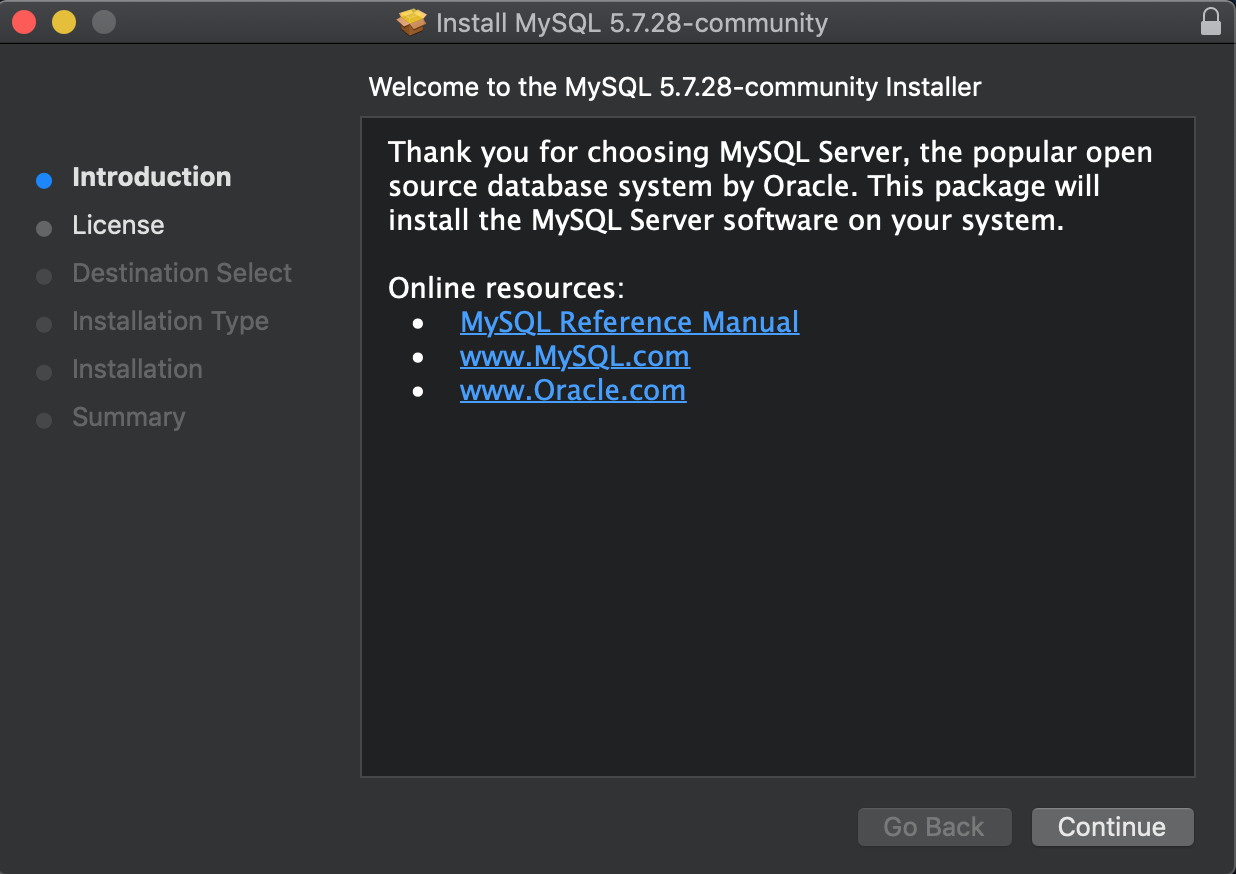
MySQL
MySQL is a database management system, and it is required for practically all pdm_utils tools. pdm_utils has been developed and tested using MySQL Community Server 5.7. The package may work with newer versions of MySQL, but it has not been tested. The MySQL user guide provides very thorough, detailed installation instructions, and there are many online tutorials to help overcome common installation challenges. Below is a brief summary of installation for MacOS and Ubuntu.
MacOS installation
pdm_utils is tested on MySQL 5.7.27 on MacOS 10.14, although it is expected to be compatible with MySQL >=5.7, <8.0 and MacOS >=10.13.
Installation
Navigate to the MySQL Community Server download site.
Verify the ‘General Availability (GA) Releases’ tab is selected.
Verify ‘macOS’ is selected from the ‘Select Operating System’ menu.
By default, the most recent version of MySQL Community Server (version 8.0) is displayed for download. Select the ‘Looking for previous GA versions?’ option. Verify that version 5.7 is now displayed.
Download the ‘macOS DMG Archive’.
Note
Only the most recent version of 5.7 is available on this page. However, if you are using an older version of MacOS, there may be compatibility issues. If this is the case: select the ‘Archives’ tab, verify ‘macOS’ is selected from ‘Operating System’, and find the MySQL version from ‘Product Version’ that is compatible with your MacOS version as indicated further below on the page. Download the DMG archive.
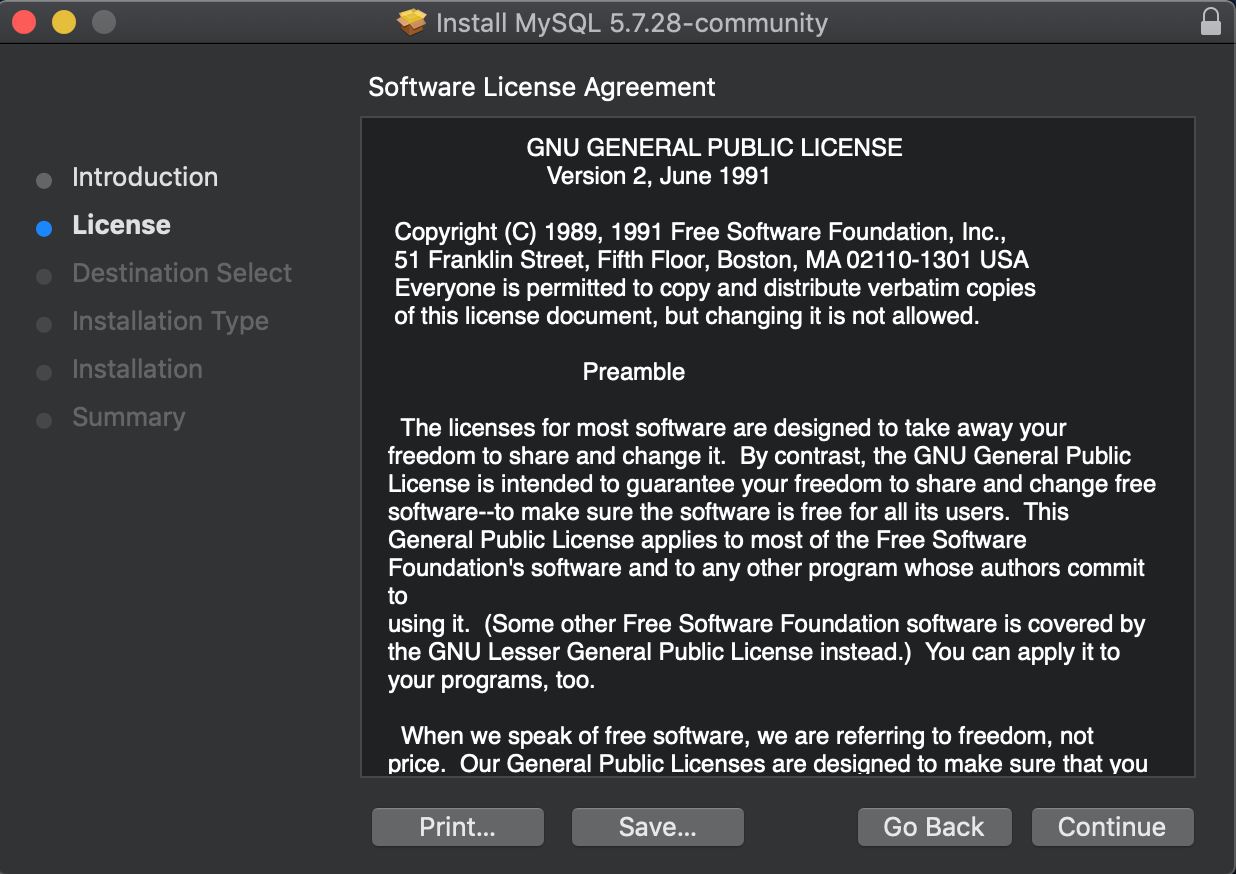
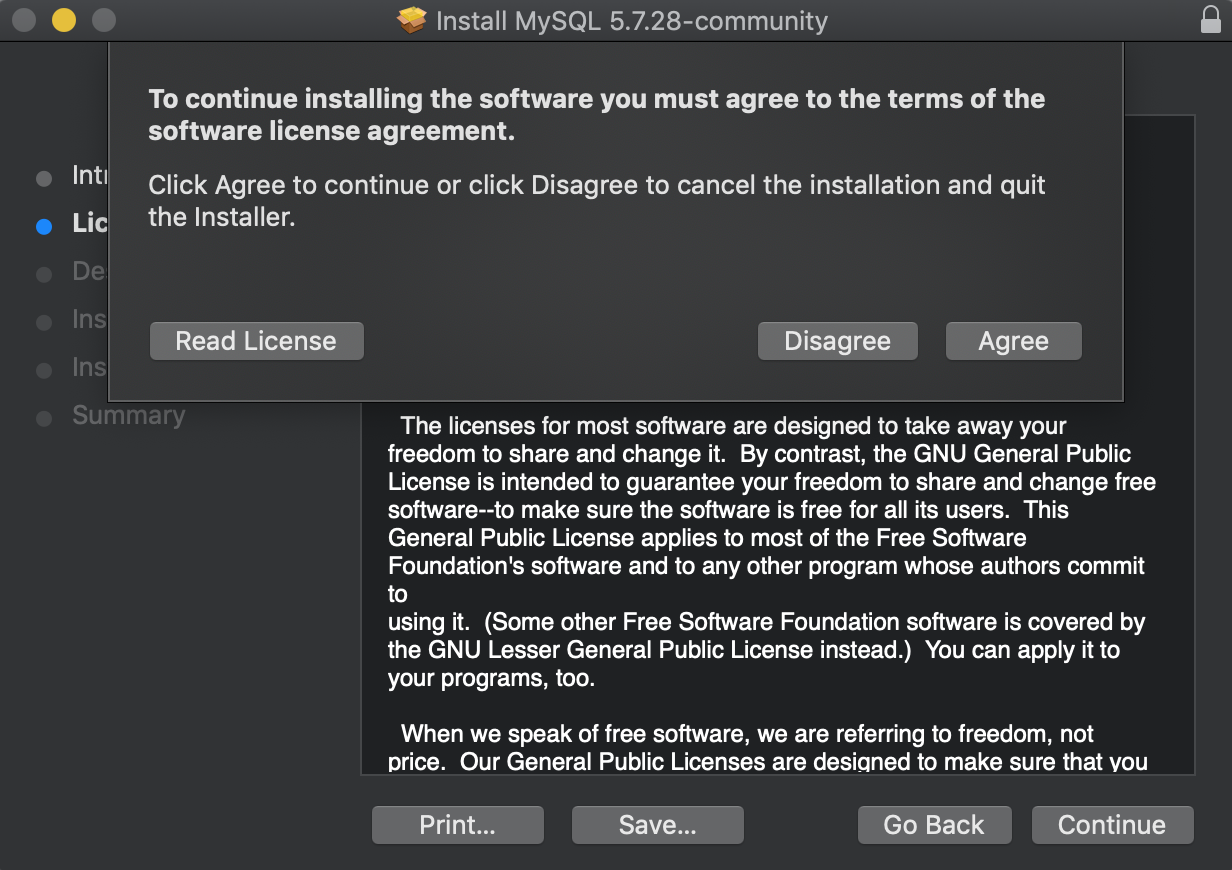
Follow the graphical installation instructions:
Agree with the license agreement:
Install at the default location:

Allow access to ‘System Events.app’:

Make note of the temporary password provided during the installation process (highlighted in red):
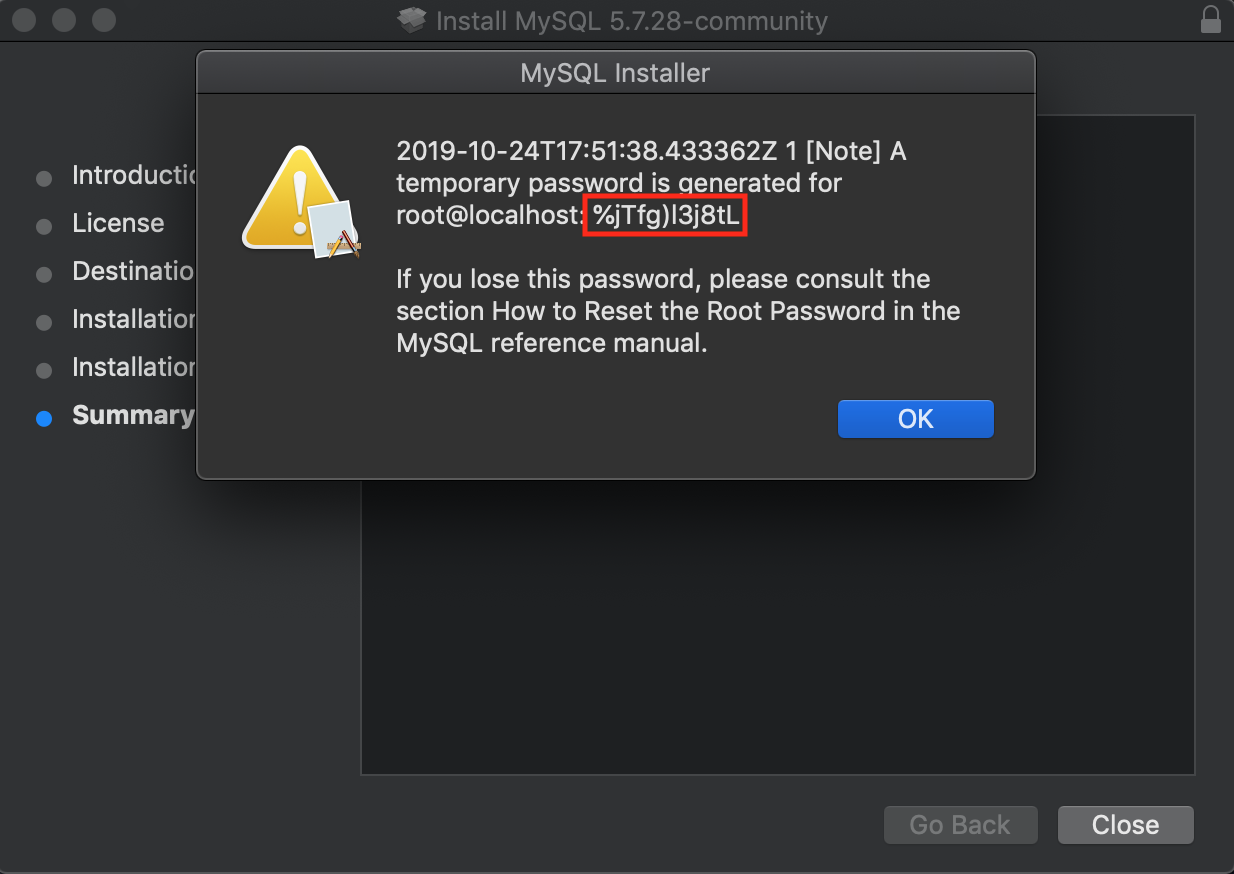
Warning
Be sure to record the temporary password that is generated!!! Once MySQL is installed, this password can only be used ONCE to login.
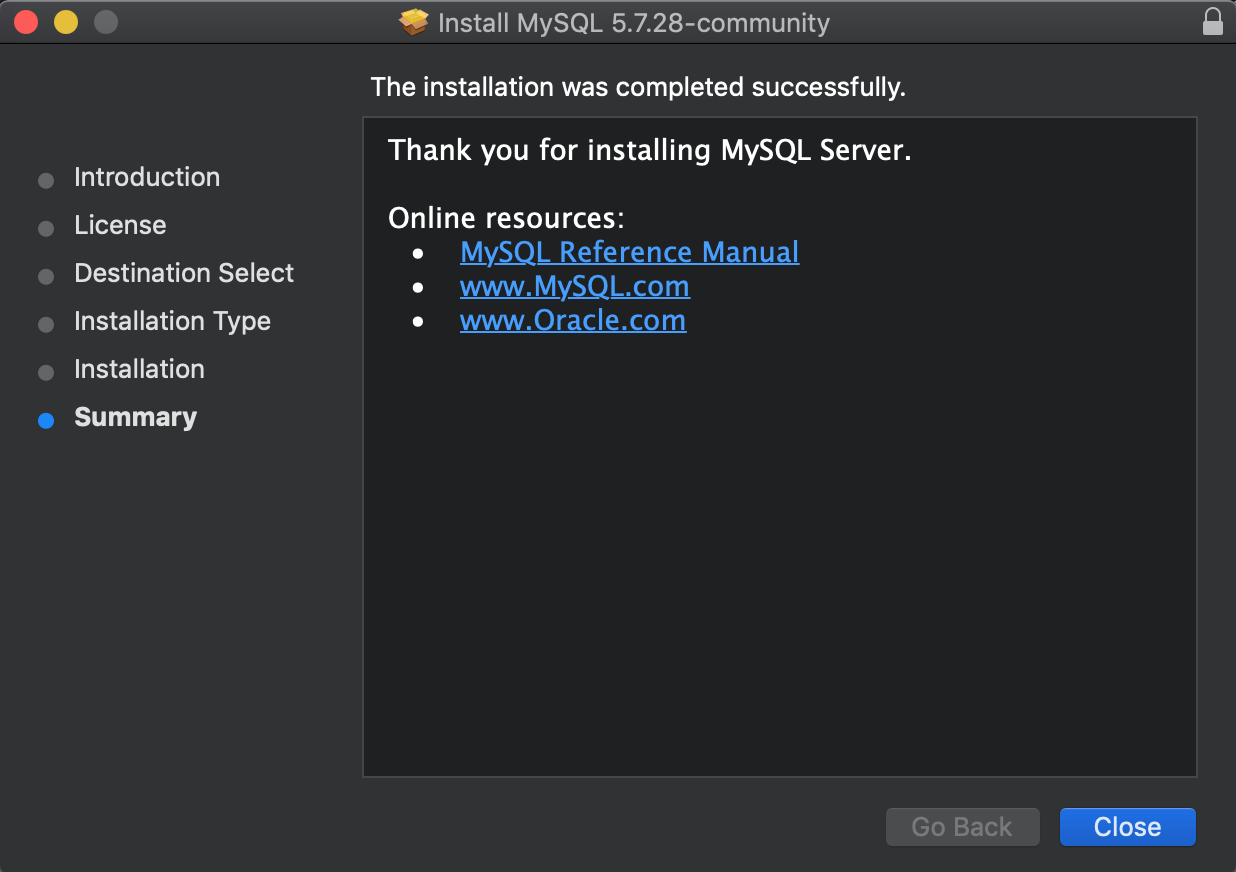
Installation should now be complete:
Open Terminal.
Log in to MySQL as the root user:
> mysql -u root -p
Enter the temporary password when prompted:
Enter password: <temporary password>
At the MySQL prompt, change the password for the root user:
mysql> ALTER USER 'root'@'localhost' IDENTIFIED BY '<new password>';
mysql> exit
Password reset
If the MySQL password is lost, it can be reset.
In Mac Preferences Pane, turn off MySQL server.
Open a Terminal window.
Enter the following command:
> sudo /usr/local/mysql/bin/mysqld_safe --skip-grant-tables
Enter the password for the computer user (not MySQL), at the prompt:
Enter password: <user password>
Open a SECOND Terminal window.
Enter the following command:
> sudo /usr/local/mysql/bin/mysql -u root
Enter the password for the computer user (not MySQL), at the prompt:
Enter password: <user password>
You should now be logged in to mysql. Execute the following commands:
mysql> UPDATE mysql.user SET authentication_string=PASSWORD('<new password>') WHERE User='root';
mysql> FLUSH PRIVILEGES;
mysql> exit
You should now be returned to the bash command line. Enter the following command:
> sudo /usr/local/mysql/support-files/mysql.server restart
Close the second Terminal window.
Close the first Terminal window.
Server control
Access to MySQL, even on your local computer, is controlled through a server-client model. The server needs to be turned ON in order to use MySQL. This can be accomplished manually or it can be set to start automatically every time your Mac is restarted.
Click on the Apple icon in the top left corner of your desktop.
Select ‘System Preferences’.
Click on the MySQL icon.
If ‘MySQL Server Instance is stopped’ is displayed, then click on ‘Start MySQL Server’.
To perform this step every time automatically, select ‘Automatically Start MySQL Server on Startup’.
If the automatic option is not selected, anytime your Mac is restarted the server is turned OFF, and you will be unable to use any pdm_utils tools that require access to MySQL until you manually turn the server ON.
Ubuntu installation
pdm_utils is tested on MySQL 5.7.29 on Ubuntu 18.04.3, although it is expected to be compatible with MySQL >=5.7, <8.0 and Ubuntu >=16. MySQL 5.7 can be downloaded through either the Ubuntu repositories or the official MySQL repositories. Installing MySQL using the Ubuntu repositories is outlined below:
Open a Terminal window.
Update all available repositories (provide the computer login password when prompted):
> sudo apt update
Enter the following command to install the MySQL version 5.7 (answer ‘yes’ to proceed with installing the new packages, when prompted):
> sudo apt install mysql-server=5.7.*
MySQL Community Server should now be installed, but the server may not be running.
Check the server status:
Enter the following command:
> systemctl status mysql.service
If the server is running, it should display:
Active: active (running))
If the server is not running, it should display:
Active: inactive (dead)
If the server is not running, it needs to be started:
> sudo systemctl start mysql
Check status again to confirm it is running:
> systemctl status mysql.service
Although MySQL is installed, no password has yet been set for the ‘root’ user. Login to MySQL without a username (provide the computer login password if prompted):
> sudo mysql
mysql>
Now set a password for the ‘root’ user:
mysql> ALTER USER 'root'@'localhost' IDENTIFIED WITH mysql_native_password BY '<new password>';
mysql> FLUSH PRIVILEGES;
mysql> exit;
Create additional users (optional)
After MySQL is installed (on MacOS or Ubuntu), additional user accounts with different types of access privileges can be created, if needed.
Login to mysql as ‘root’ (provide the password when prompted):
> mysql -u root -p
mysql>
Create a new user ‘new_user’, and specify the password:
mysql> CREATE USER 'new_user'@'localhost' IDENTIFIED BY '<new_password>';
Grant different levels of access using one of the following commands:
Grant unrestricted access to all databases:
mysql> GRANT ALL ON *.* TO 'new_user'@'localhost' WITH GRANT OPTION;
Grant access with all privileges to a specific database (such as Actino_Draft):
mysql> GRANT ALL ON Actino_Draft.* TO 'new_user'@'localhost';
Grant access to all databases, but only with the privilege to retrieve data:
mysql> GRANT SELECT ON *.* TO 'new_user'@'localhost';
Implement the changes:
mysql> FLUSH PRIVILEGES;
mysql> exit;